Three separate clients asked me about “glass nails” on my last Saturday at the chair, which told me it was time to stop nodding vaguely and actually try it myself. I'm no nail technician — this is enthusiast territory, tested the same honest way I test everything else, on my own hands at my kitchen table with a SUNUV lamp borrowed off a mate. What follows is the oval, pearl-white version I landed on after one slightly patchy first attempt and one proper go.
Starting Clean Matters More Than Anyone Tells You
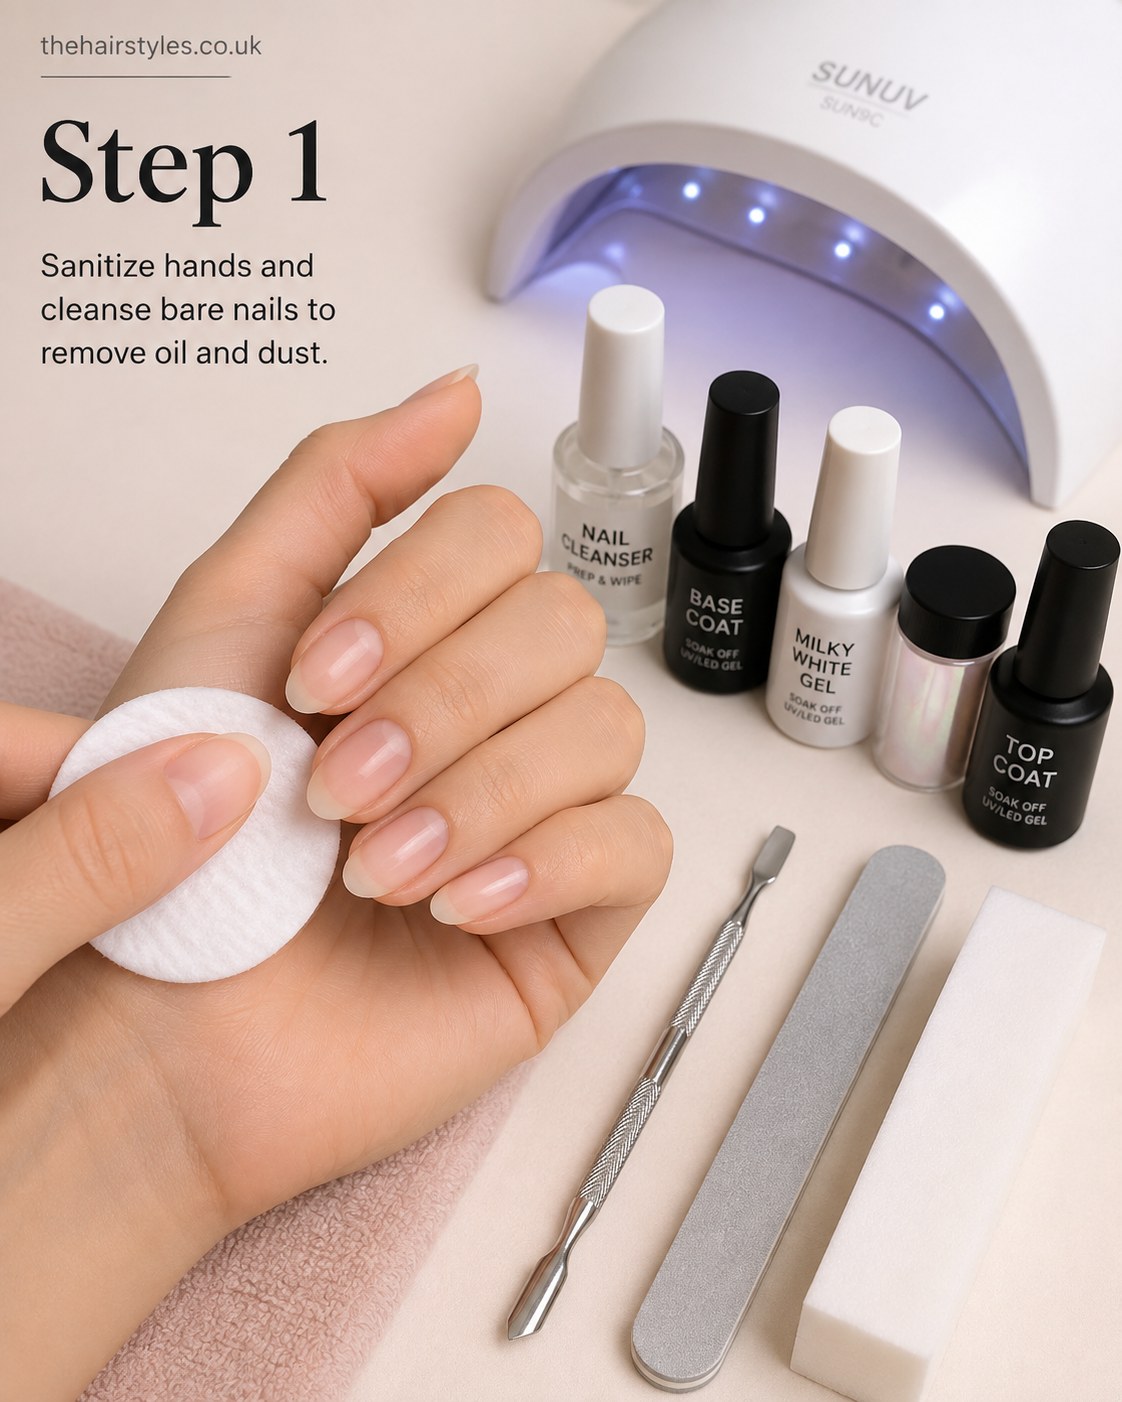
Every gel manicure I've ever seen lift early comes back to this exact moment — someone skipped it. I wipe each bare nail with nail cleanser on a cotton pad, going right to the edges, because any trace of hand cream or natural oil sits between your nail and the gel like cling film between two pieces of Sellotape.
You'll see in the photo I'm working over a towel, hands sanitised, nail bed completely bare — no polish residue lurking in the cuticle line. Keith the cat had already tried to sit on the cotton pads twice by this point, so factor in a bit of extra time if you've got a nosy animal too.
A session nail artist backstage once told me the whole manicure is decided in the first ninety seconds — she wasn't wrong.
Pushing the Cuticles Back, Not Cutting Them
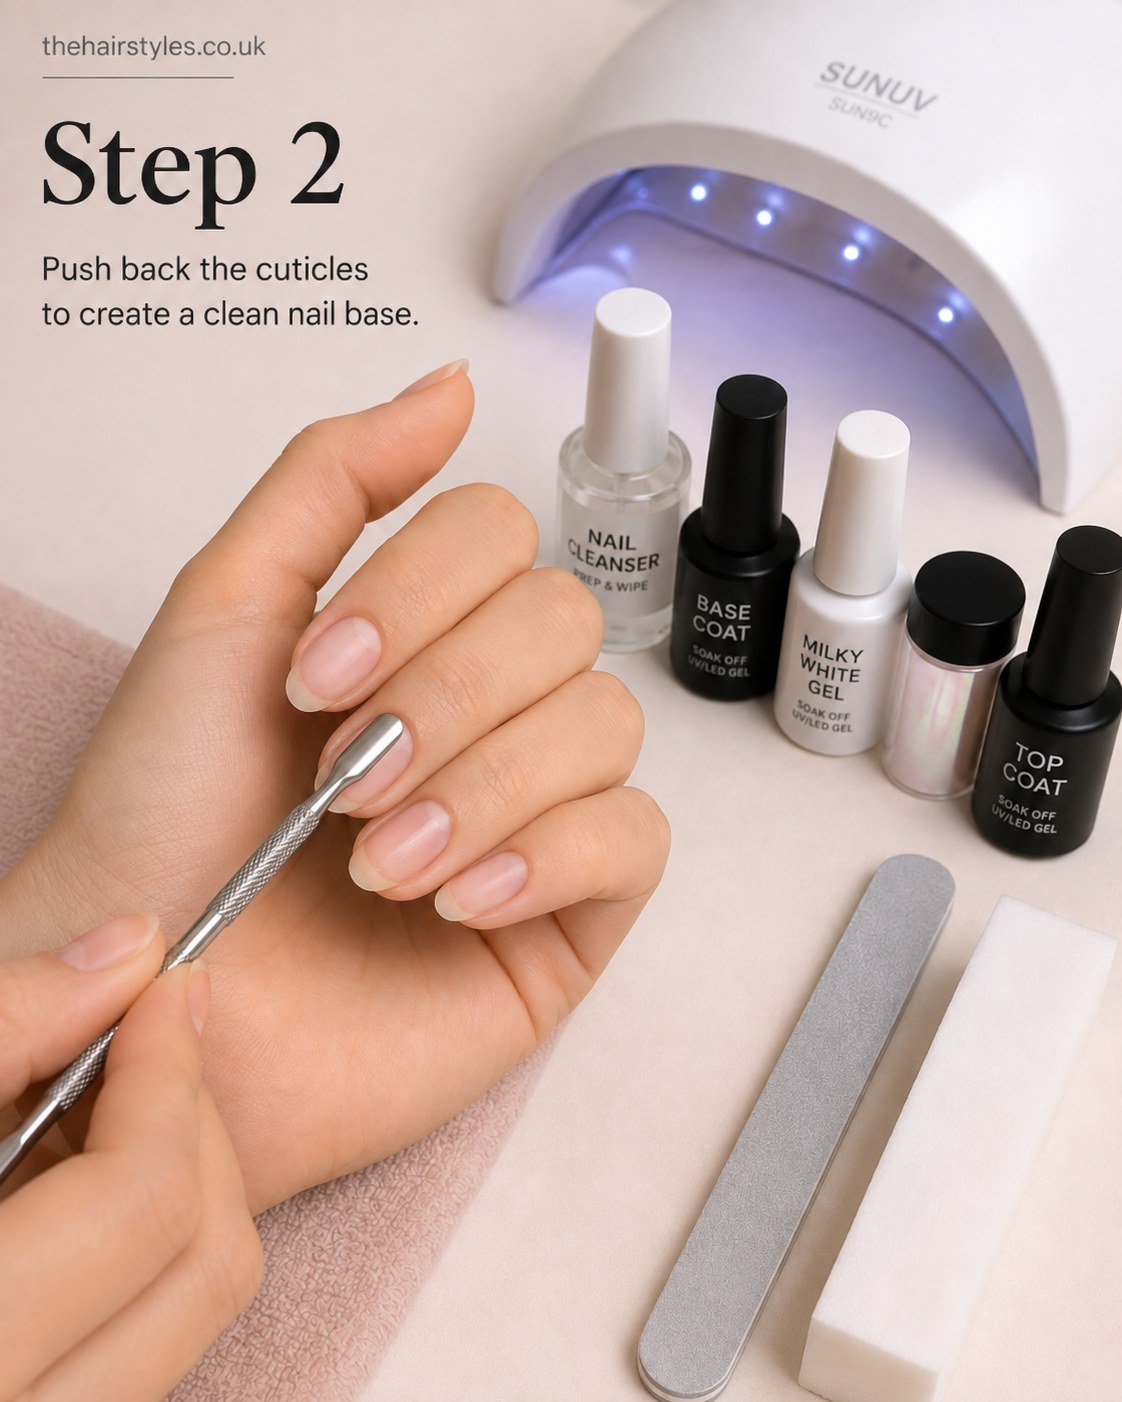
I use the metal end of the cuticle pusher, gently, working the softened skin back off the nail plate rather than digging in. This isn't a trim — nothing gets cut here — it's about exposing as much clean nail surface as possible so the base coat has a proper edge to grip.
- Go slow at the sidewalls — that's where beginners nick themselves
- Keep the tool nearly flat against the nail, not upright
- Stop the second it stings — you're pushing skin, not scraping it off
If your cuticles are properly overgrown, a few minutes with cuticle oil the night before makes this step considerably kinder.
Filing Into a Soft Oval
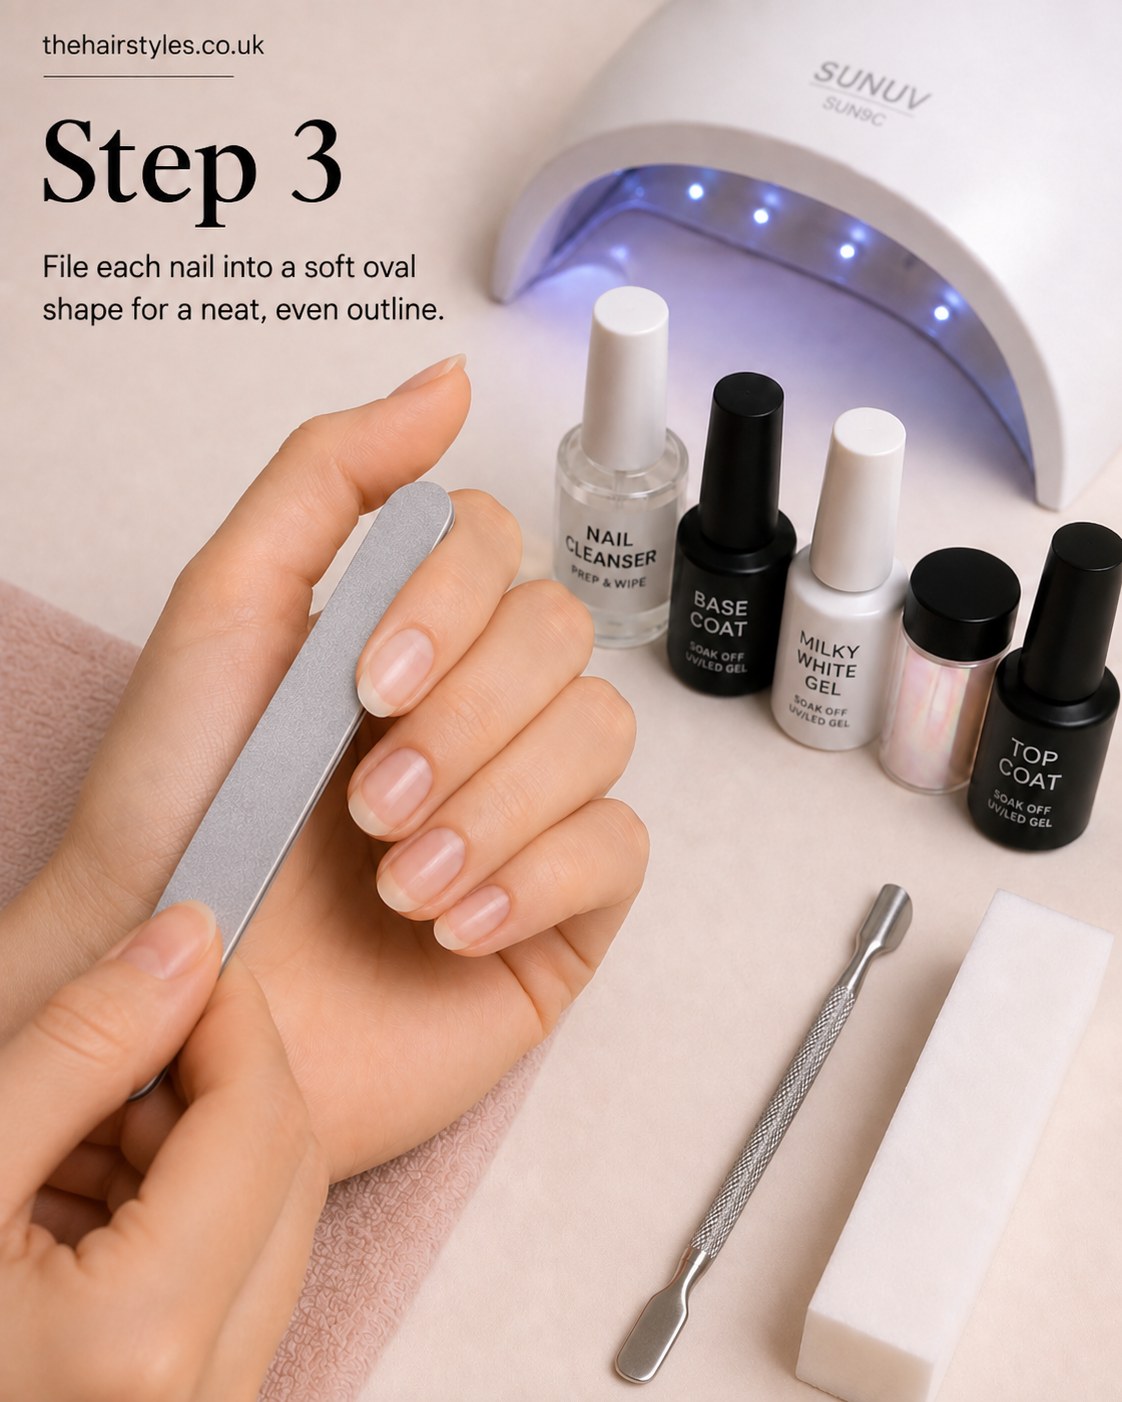
This is the shape that decides whether the finished set reads elegant or a bit costume-jewellery, and it's worth taking your time over. I file each nail in one direction only — sawing back and forth is how you get splitting and uneven edges — curving gently from the sidewall up to a rounded point at the centre, never a sharp tip.
The oval test I use on clients
Hold your hand flat, fingers together — if the nail shape roughly echoes the curve of your fingertip rather than sitting square or pointed against it, you've got it. Photo three shows the file working the edge in short, even strokes; that's the motion, not one long drag.
A Light Buff Before Anything Goes On
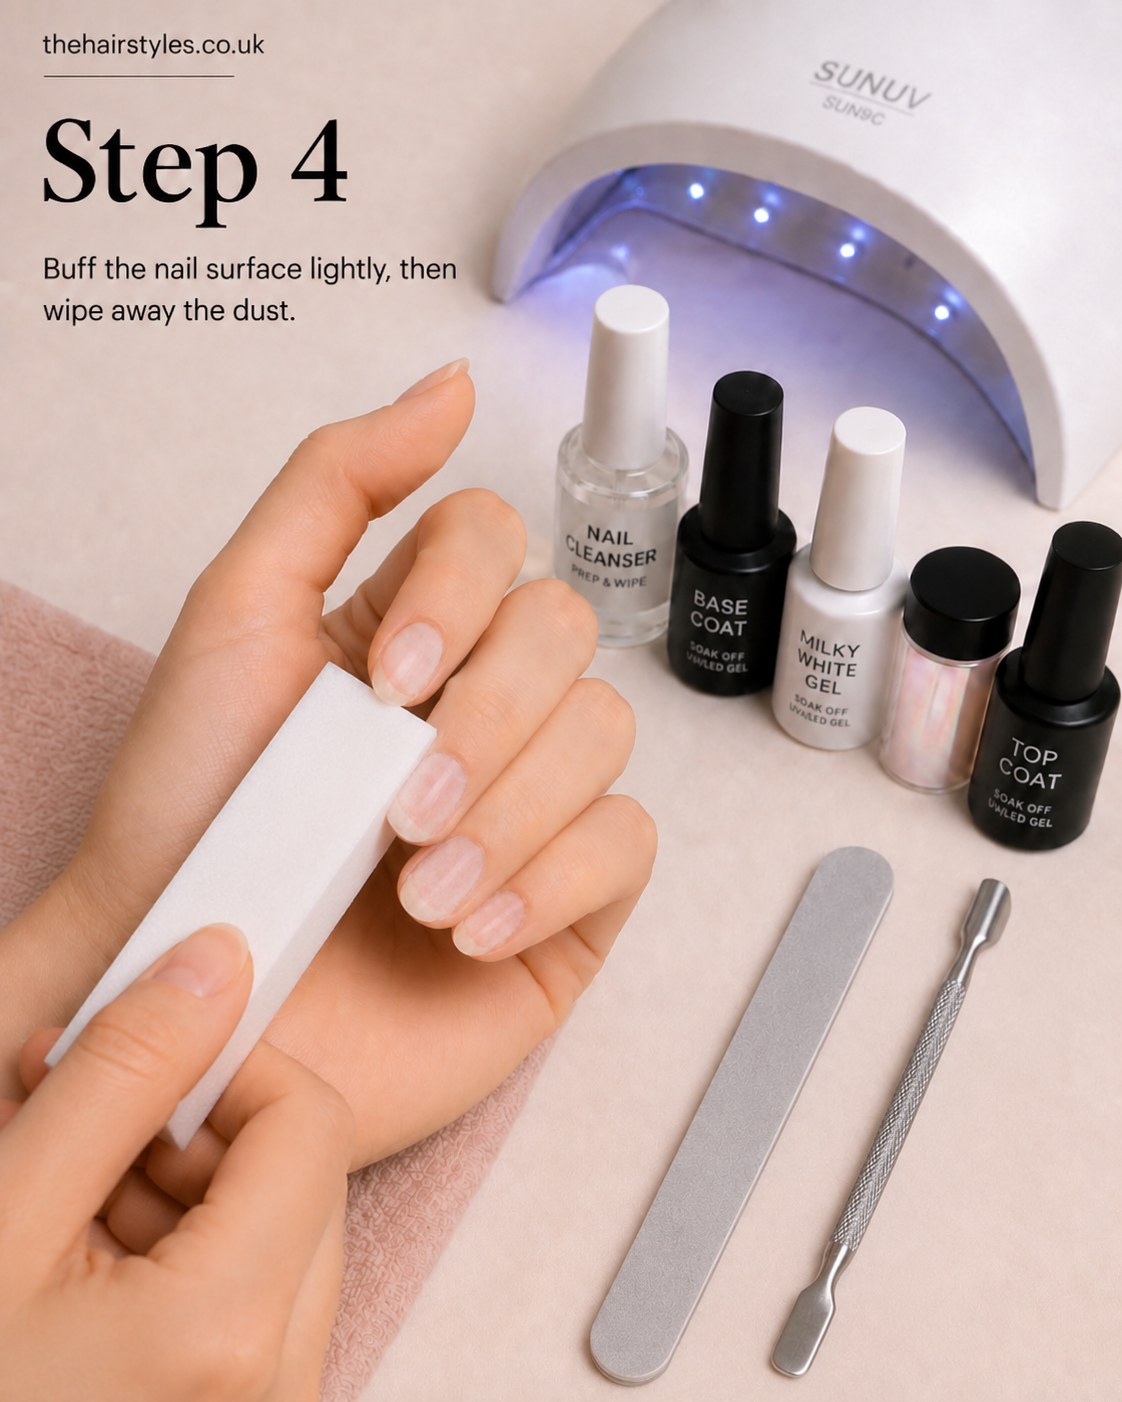
Buffing gets skipped constantly and it's a mistake — a completely smooth, shiny natural nail is actually harder for gel to bond to. I go over the surface with the white buffer block using light, even pressure, just enough to take the shine off, then wipe away every scrap of dust with a fresh cotton pad and cleanser.
Press too hard here and you'll thin the nail plate itself, which is a genuinely damaging habit if you're doing this regularly — one pass, gentle, is plenty. The nail in the photo has gone from glossy to matte-soft, which is exactly the texture you want before base coat.
Base Coat, Applied Thin
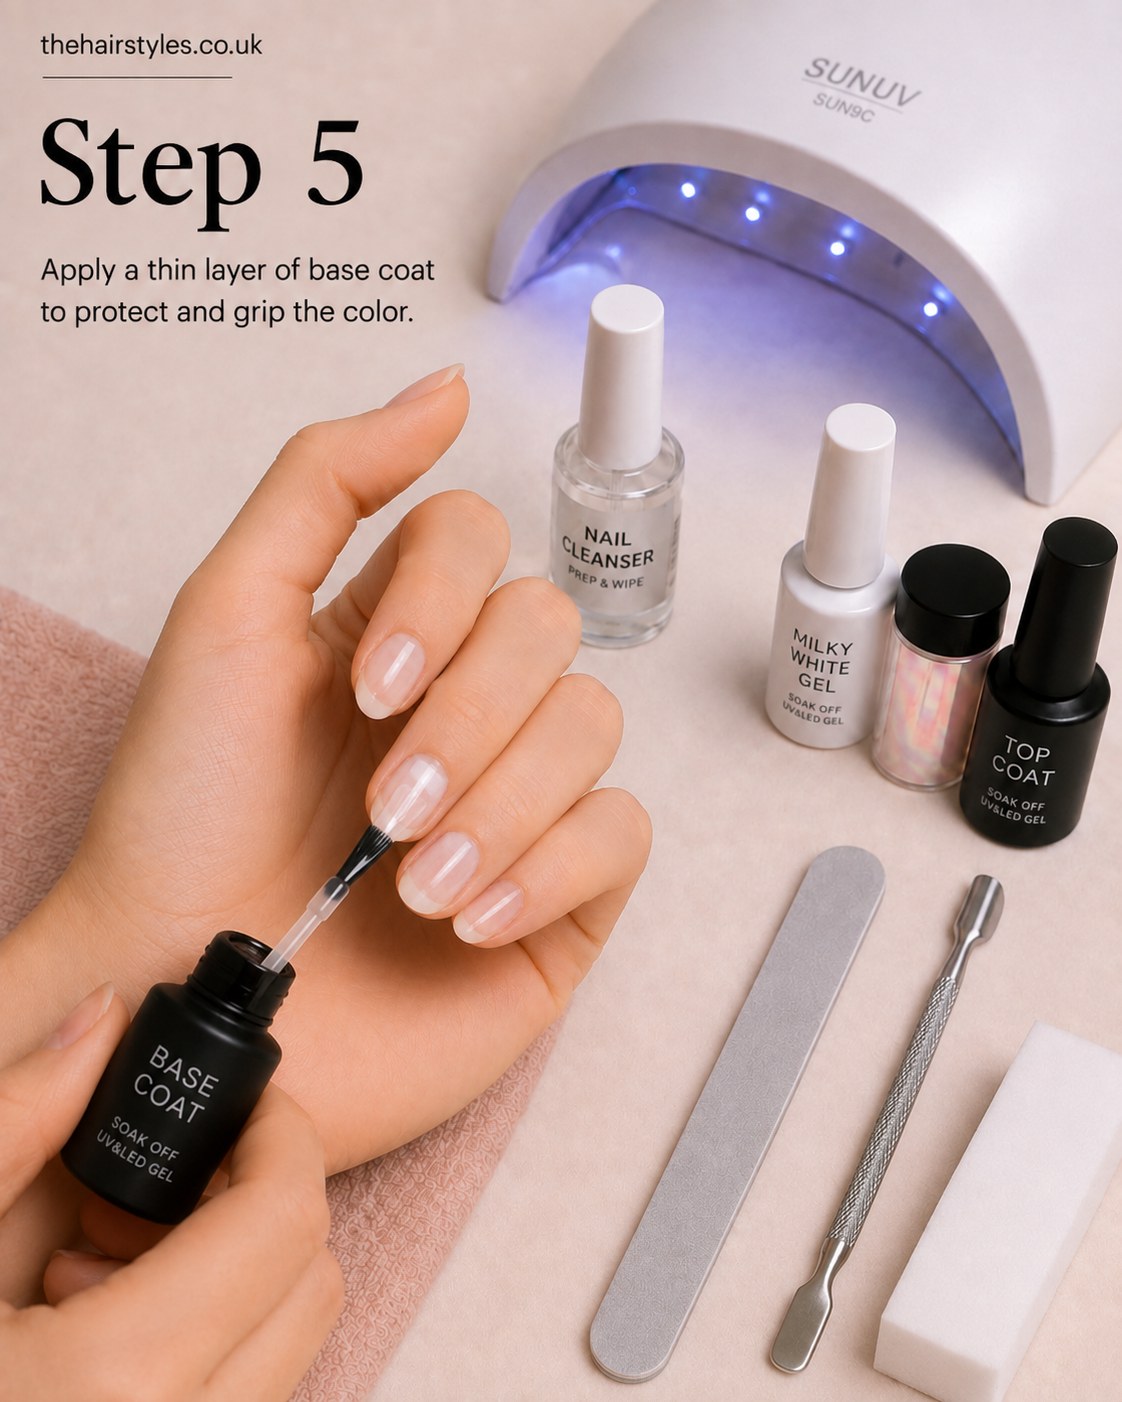
I load the brush, then wipe most of it off against the bottle neck before touching the nail — thin is the whole game with gel. A flooded base coat pools at the cuticle and takes forever to cure properly, which is how you end up with a soft, dented finish two days later.
- One stroke down the centre of the nail
- One stroke each side, sealing the free edge as you go
- Cure under the lamp until the surface has gone from wet-looking to matte and set
You can see in the photo how sheer that layer is over my natural nail — it should still look like your own nail, just protected.
Building the Milky White Base
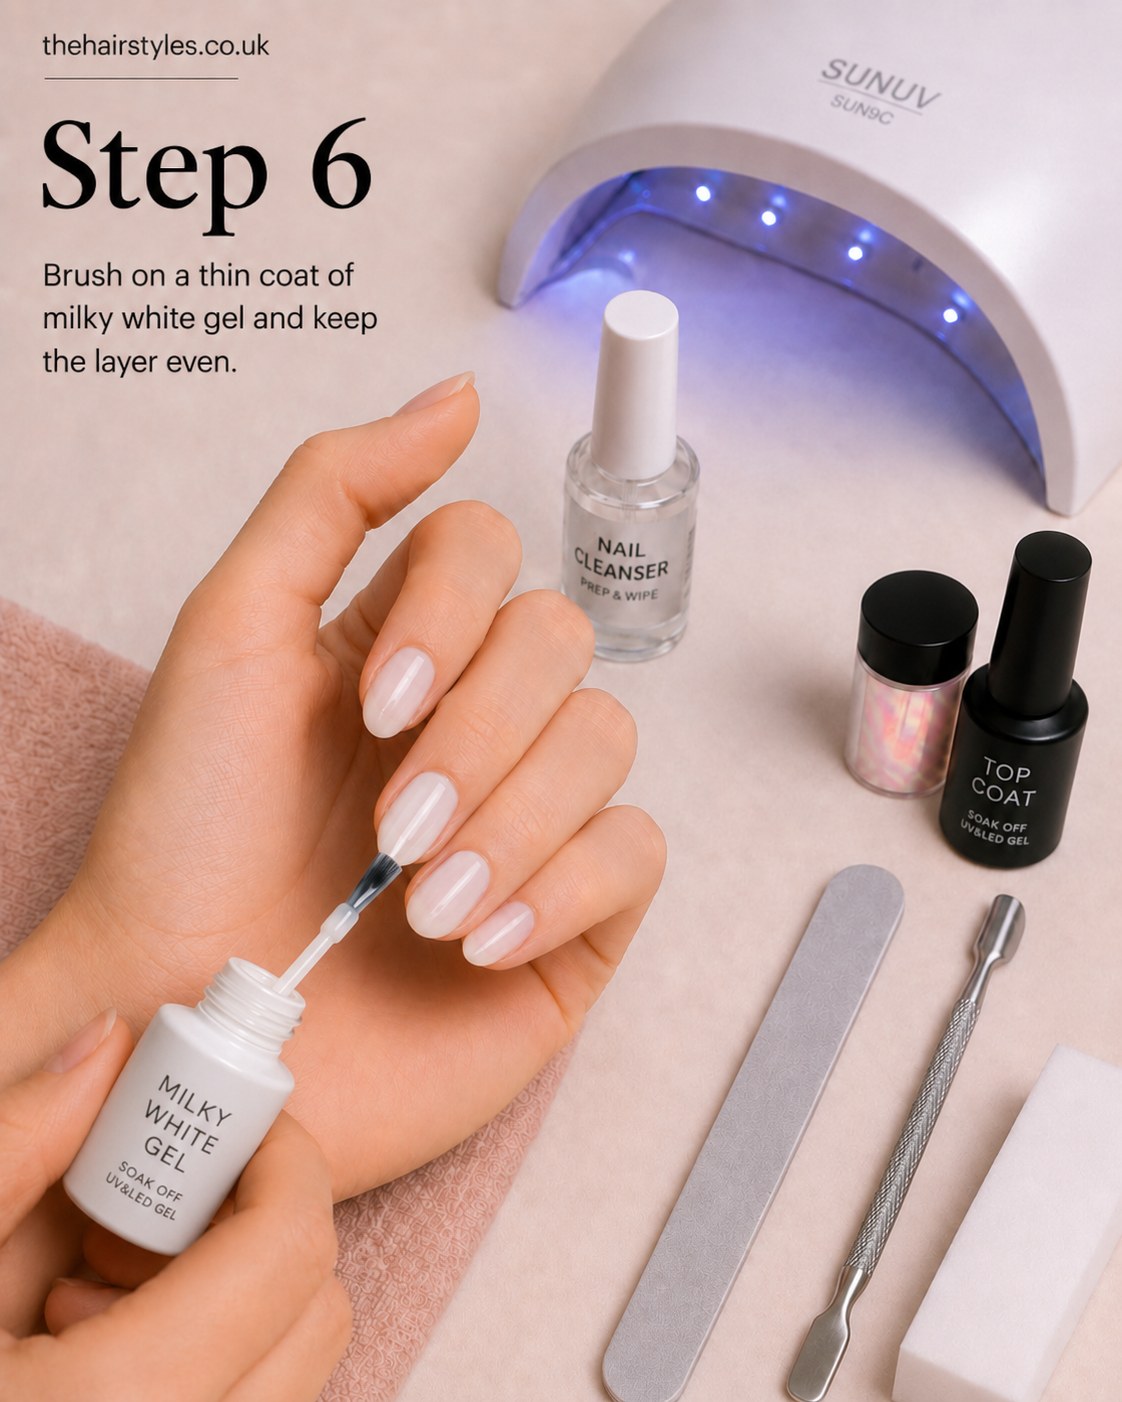
This is where the whole look actually starts to take shape, and it took me two coats to get the even, cloudy-milk finish you see in the photo. The milky white gel goes on thin and level — I keep the brush loaded but controlled, working from the cuticle down, and I resist the urge to go back over a stroke once it's laid, because that's exactly when streaking happens.
If your first coat looks patchy or a bit grey rather than milky, don't panic — that's completely normal on coat one. A second thin layer after curing is what turns it opaque and properly milk-white rather than see-through.
Curing Until the Surface Sets
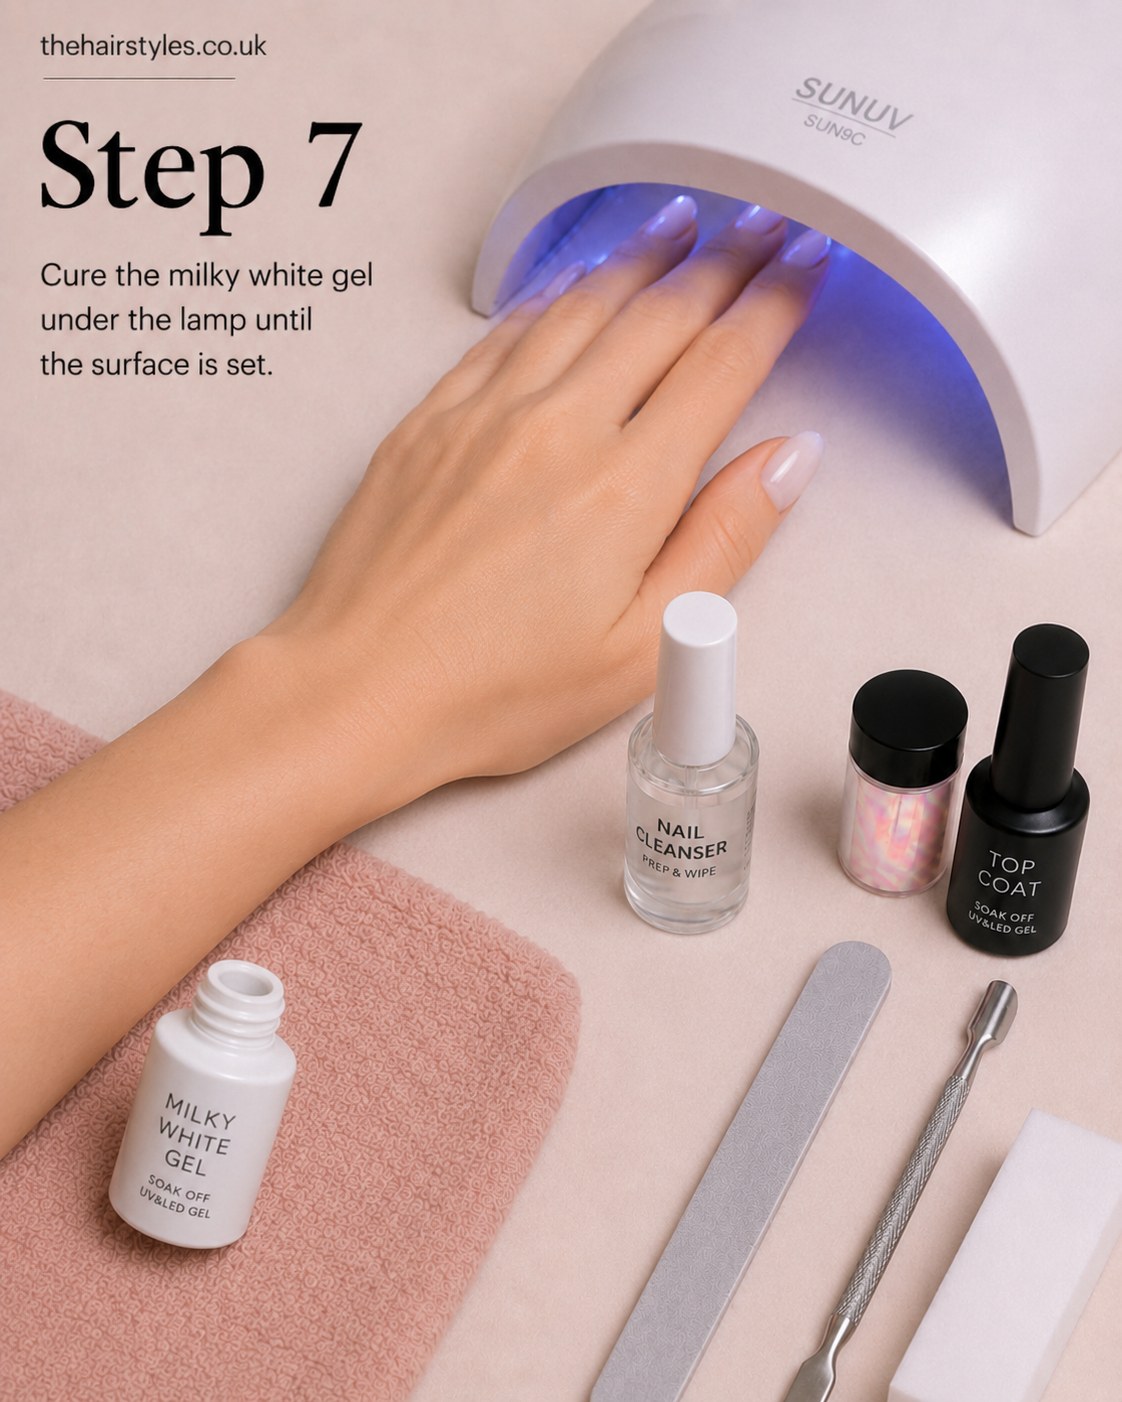
Hand flat under the SUNUV lamp, fingers slightly spread so the light reaches every nail evenly — this is the step where patience actually pays off. I cure the milky white gel until the surface has gone from glossy-wet to fully set and matte to the touch; rushing this is the single biggest reason gel manicures peel within a week.
I've seen more lifted gel from an impatient thirty-second cure than from any other single mistake in a manicure.
If a nail still looks tacky or shiny-wet after curing, give it another short pass under the lamp rather than moving on — better an extra minute now than redoing the whole set on Thursday.
The Pearl Chrome, Rubbed On by Hand
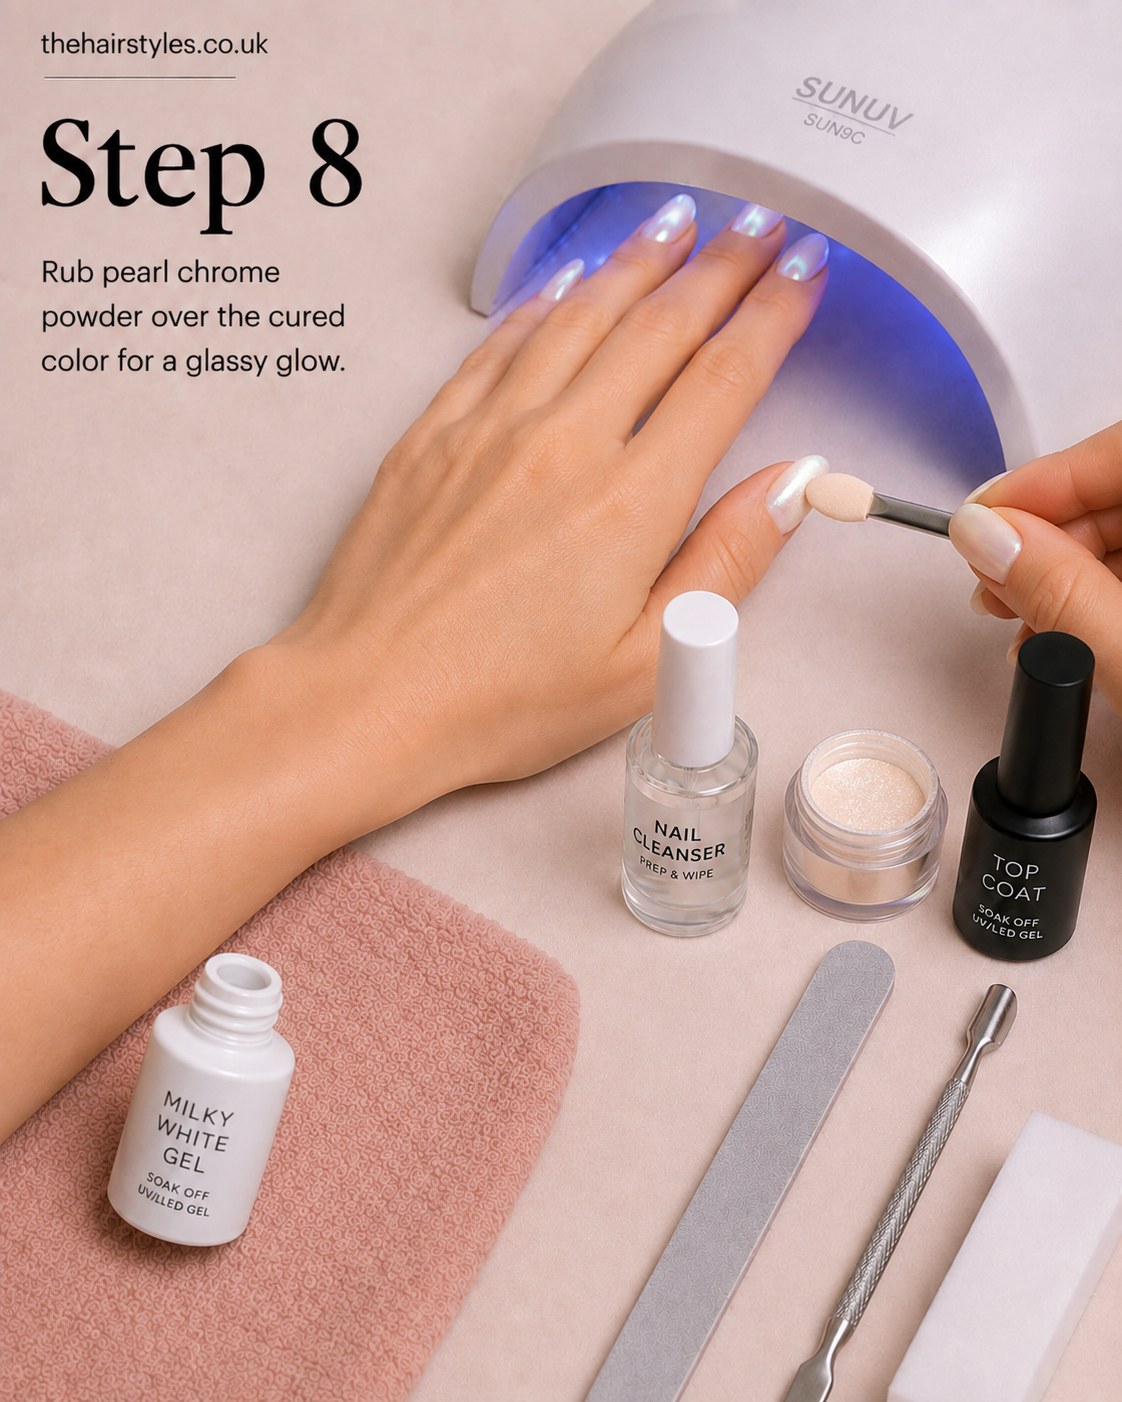
This is the step that actually earns the word “glass” in the name, and it's oddly satisfying to do. Using the little sponge applicator, I pick up a small amount of pearl chrome powder and rub it directly onto the cured milky white gel in small circular motions, building the shimmer gradually rather than dumping it on in one go.
- Less powder, more rubbing gives a more even pearl finish than one heavy layer
- Cover the whole nail, including right up to the cuticle edge, or you'll get a visible line later
- Don't press hard — you're buffing the pigment in, not scrubbing it
Watching the flat milky white turn into that soft, opalescent shimmer in the photo is genuinely the best part of this whole process.
Locking It All In With Top Coat
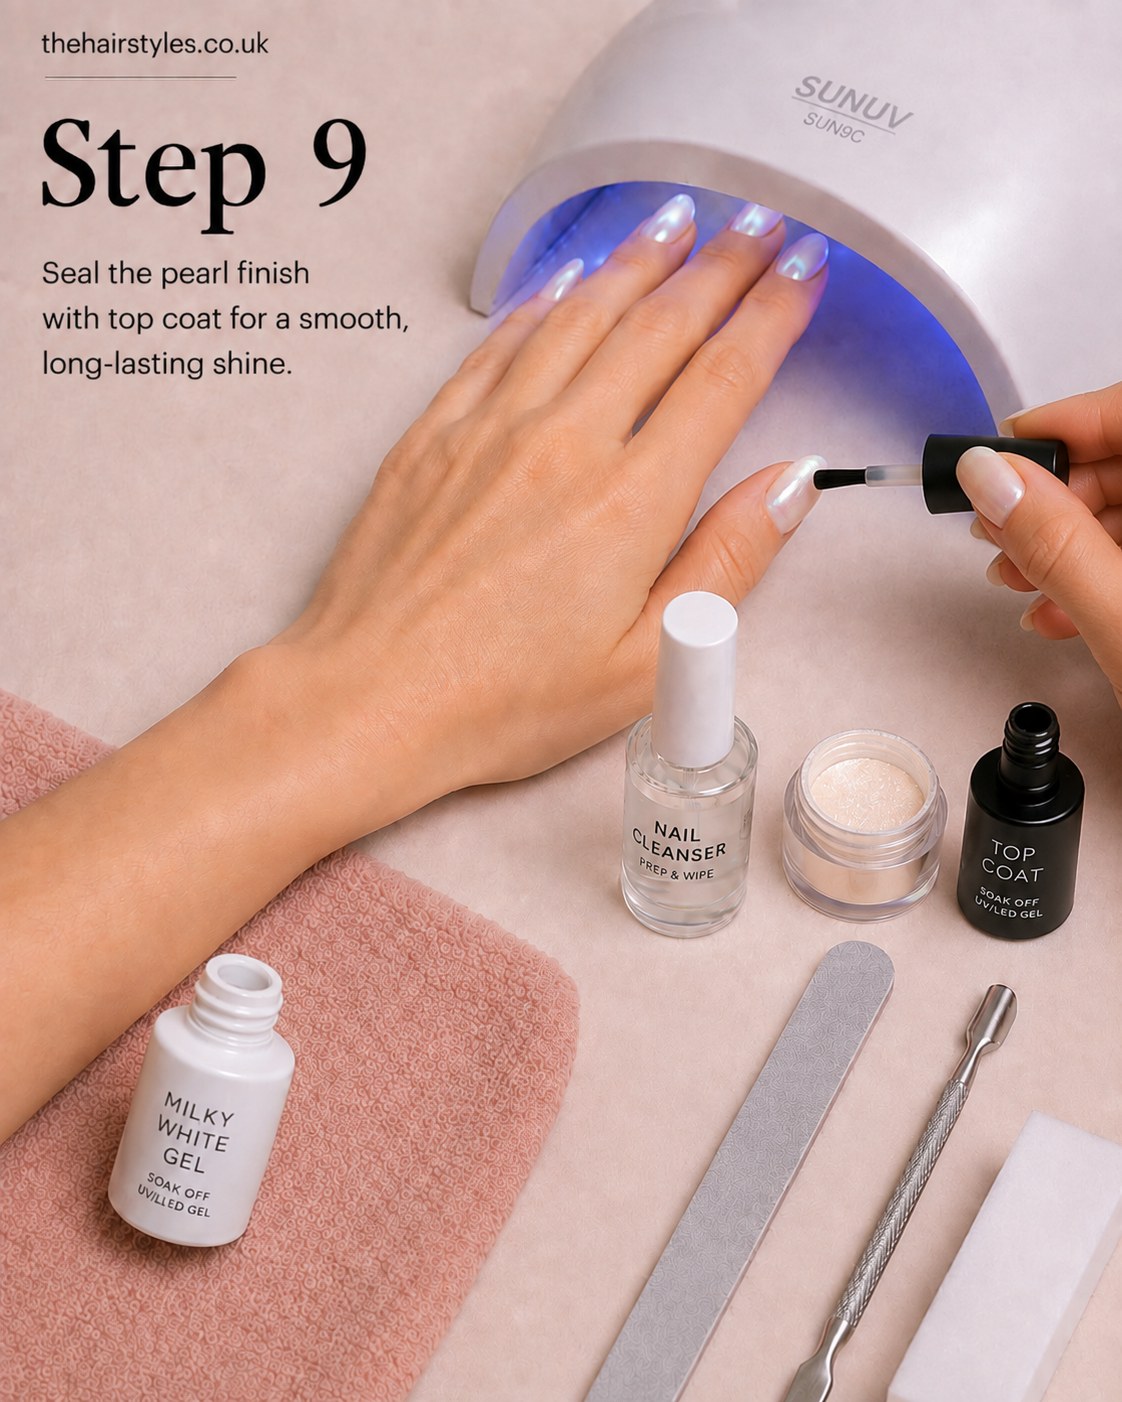
The pearl powder finish is gorgeous but it will rub straight off onto your jumper if you stop here — top coat is non-negotiable. I brush on a thin, even layer, making sure to cap the free edge of each nail, which is what actually stops the whole thing chipping at the tips within days.
Cure under the lamp until fully set, then give your hands a wipe with cleanser to remove any tacky residue left on the surface — some gel top coats leave a slight film that needs removing for that proper glassy shine rather than a dull one.
The Finished Set
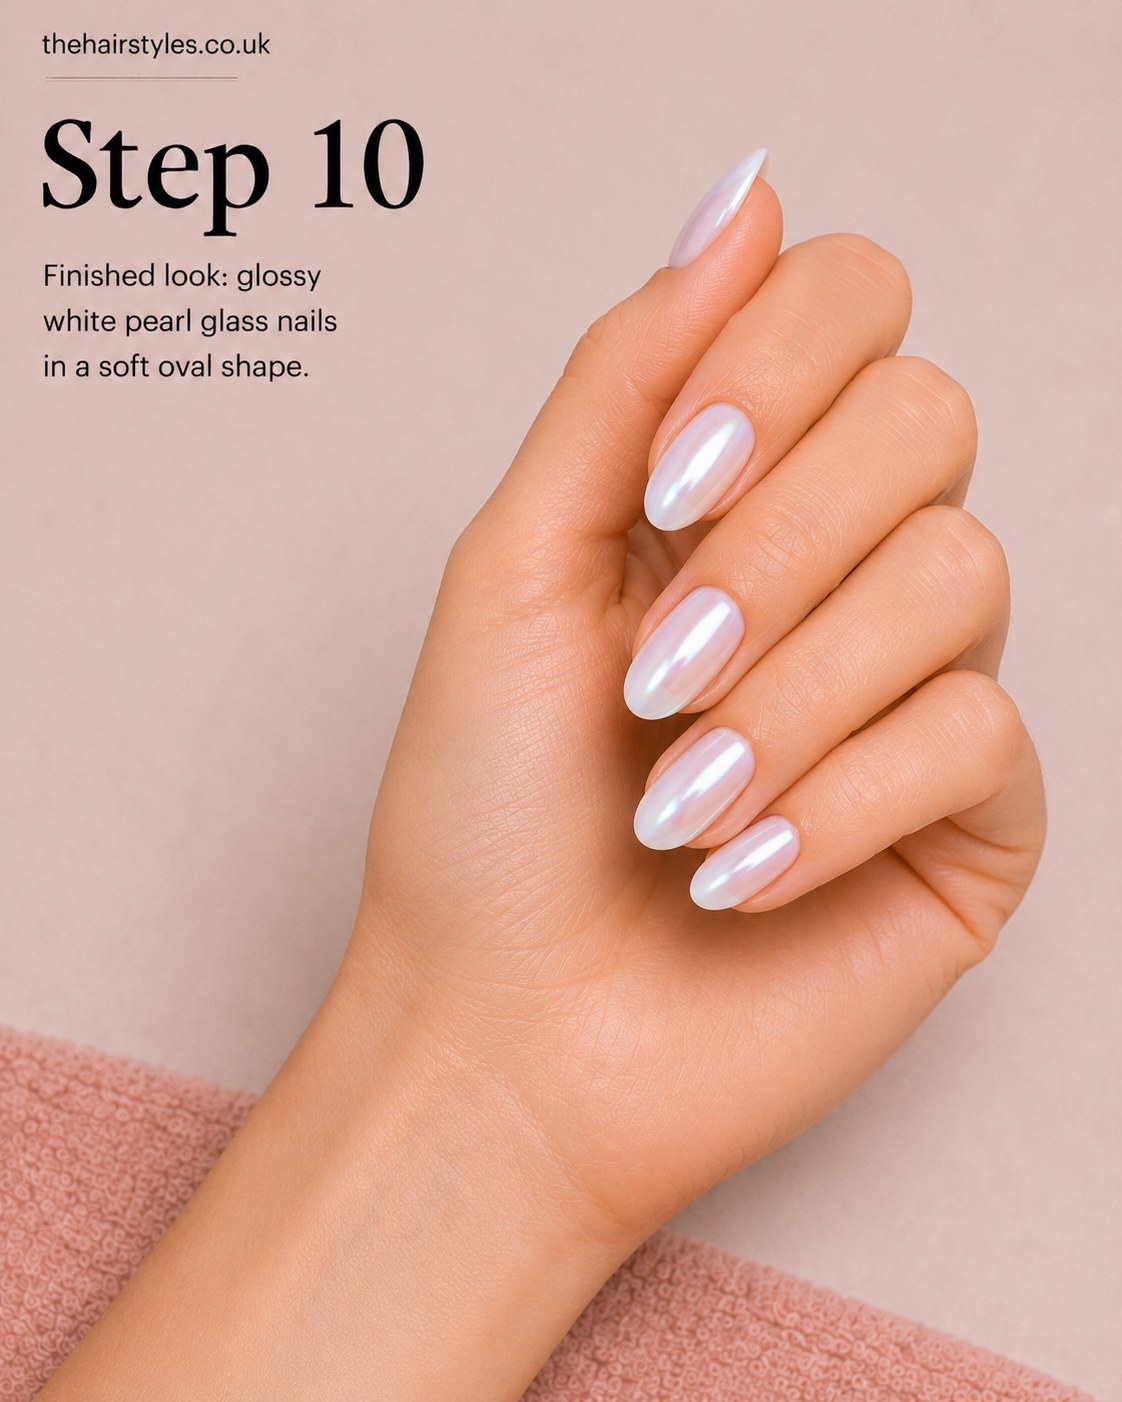
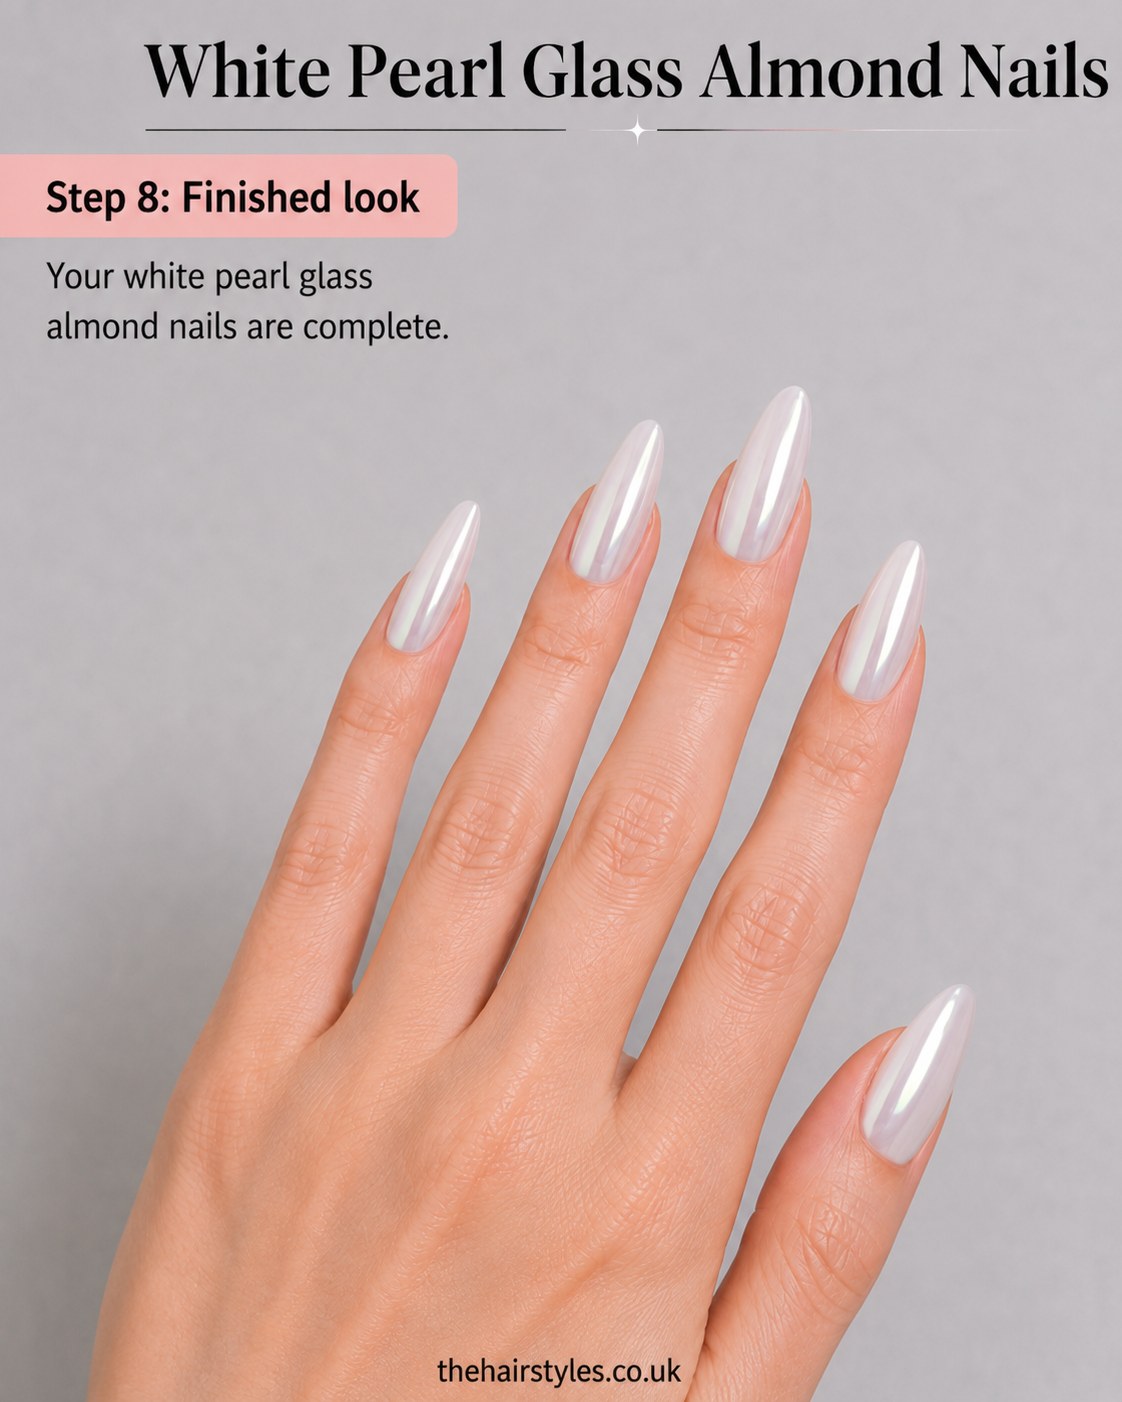
Ten oval nails, glossy, and shifting between white, silver and the faintest pink depending on how the light catches them — that pearl chrome does genuinely earn the “glass nails” name. My first attempt at this took nearly fifty minutes with all the stopping to check instructions; my second, properly practised go was done in under half an hour, which is closer to what you should expect once you've done it once.
Nell took one look and asked if I could do hers next, which I'm taking as the honest verdict.
I went into this fully expecting a gimmick and came out with a set I've genuinely kept on for two weeks without touching them up. The technique isn't difficult so much as it rewards patience at the curing stage — rush that bit and everything else you've done well comes undone within days.

- Products
- Tools


Common Questions
Do I need a UV/LED lamp to get this pearl glass finish?
Yes — this is a soak-off gel system, so each layer (base coat, milky white gel, top coat) needs proper lamp curing to set hard. Regular nail varnish won't hold the pearl chrome powder the same way, and you'll lose the glassy durability that makes this style worth doing.
How long does this manicure actually last?
Done properly, with a thin cap on the free edge at top coat stage, I'd expect two to three weeks before you see noticeable growth or wear, which is fairly typical for a well-applied gel set. Chipping early almost always traces back to a layer applied too thick or under-cured.
My milky white gel looks patchy after one coat — have I done something wrong?
Not at all, that's completely normal. It's a sheer, milky gel by design, so one coat will look uneven and slightly grey. A second thin coat after curing the first is what turns it properly opaque and gives you the clean milk-white base the pearl powder needs to sit on.
Can I do this on short nails, or does it need length?
It works on any length, honestly — the oval shape is about the curve of the file, not how long the nail is. If anything, shorter ovals show off the pearl shimmer beautifully and they're far more forgiving for a first attempt.